
Measuring
Step 1: Gather Your Tools
1. Tape Measure (25 ft. recommended)
2. Pencil & Paper (or printable LCA measuring sheet)
3. Camera (for reference photos)
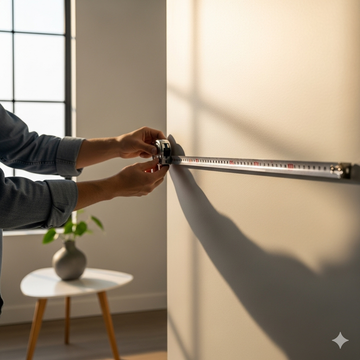
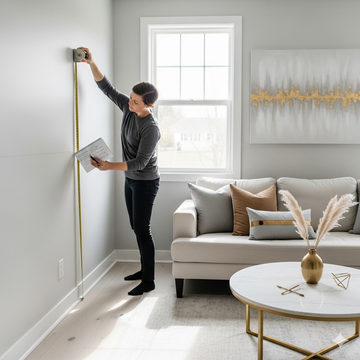
Step 2: Measure the Room
- Start in one corner and measure
each wall, recording width and height. - Note doorways (width &
height) and mark which way the door swings. - Measure window dimensions and the
distance from floor to window sill and top. - Record ceiling height.
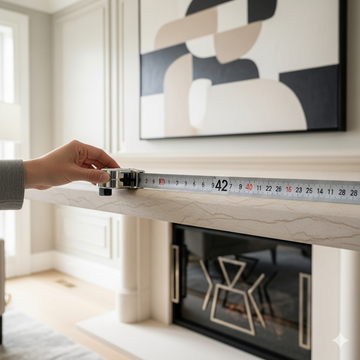
Step 3: Measure Fixed Features
- Fireplaces, radiators, columns,
or built-ins. - Outlets, vents, and light
switches. - Stairs or sloped ceilings.
- These details help us plan around obstacles and maximize function.
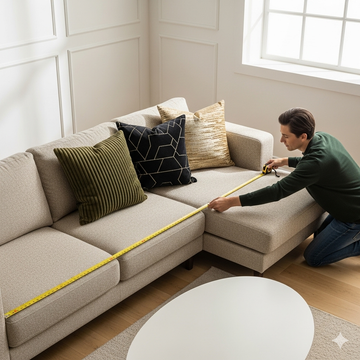
Step 4: Measure Current Furniture (Optional)
If you plan to keep certain pieces:
- Measure width, depth, and height.
- Note placement in the room
(distance from walls/doors/windows).
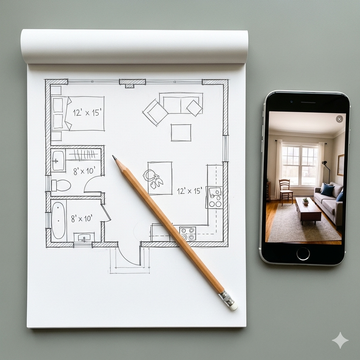
Step 5: Create a Rough Floor Plan
- Sketch your room as a rectangle or square.
- Label each wall with exact measurements.
- Add doors, windows, and fixed features.
- Take photos of each wall to Accompany your sketch.
Step 6: Double-Check
- Compare measurements across
(opposite walls should match). - Confirm ceiling height in at least 2 places.
- Accuracy = smoother design process.
LCA Pro Tip
Always round down ¼ inch for furniture placement — better a little extra room than a piece that doesn't fit.